I frequent the Stata loading dock on average once a week. Stata loading dock, for those who don’t know, is where most electronic devices are thrown out to be sent to the recycling center. On one of my trips I found an overhead projector. The case was smashed and it was obvious the lighting system wouldn’t work, but I scavenged the lenses and the mirror from the top. On a later trip I found an old LCD computer monitor. I remembered reading about DIY projectors that people had made with a Fresnel lens and their computers. I decided to give it a try with the parts I had found. My design would be modular; I wanted to be able to not only project computer images, but also old-school transparency sheets. I wanted a simple design to project images or animations that would create an atmosphere in a room.
So the first steps in making this were to re-make the overhead projector. The LCD display could be easily added later on. Through looking at commercial overhead projectors, I decided that I wanted to have a light intensity greater than 2500 lumens. This would not be enough to create an HD image with the LCD display, but that was not my aim with this project. So, I decided to go for a 2800 lumen light bulb that I found at the local hardware store. Apart from the amount of light that this light bulb would produce would be the heat that it gave off, so I would use computer fans to ventilate the area around the light. I started with making the base; out of scrap-wood I found at the Edgerton center, I measured and sawed out the pieces to make a box-like base. The box included a sliding bottom to easily take out, and a sliding side, for easy access to the inside. I also drilled two four inch diameter holes where the fans would be placed. Most of the wood was sanded down to get rid of pencil marks and whatever scratches appeared while building it.
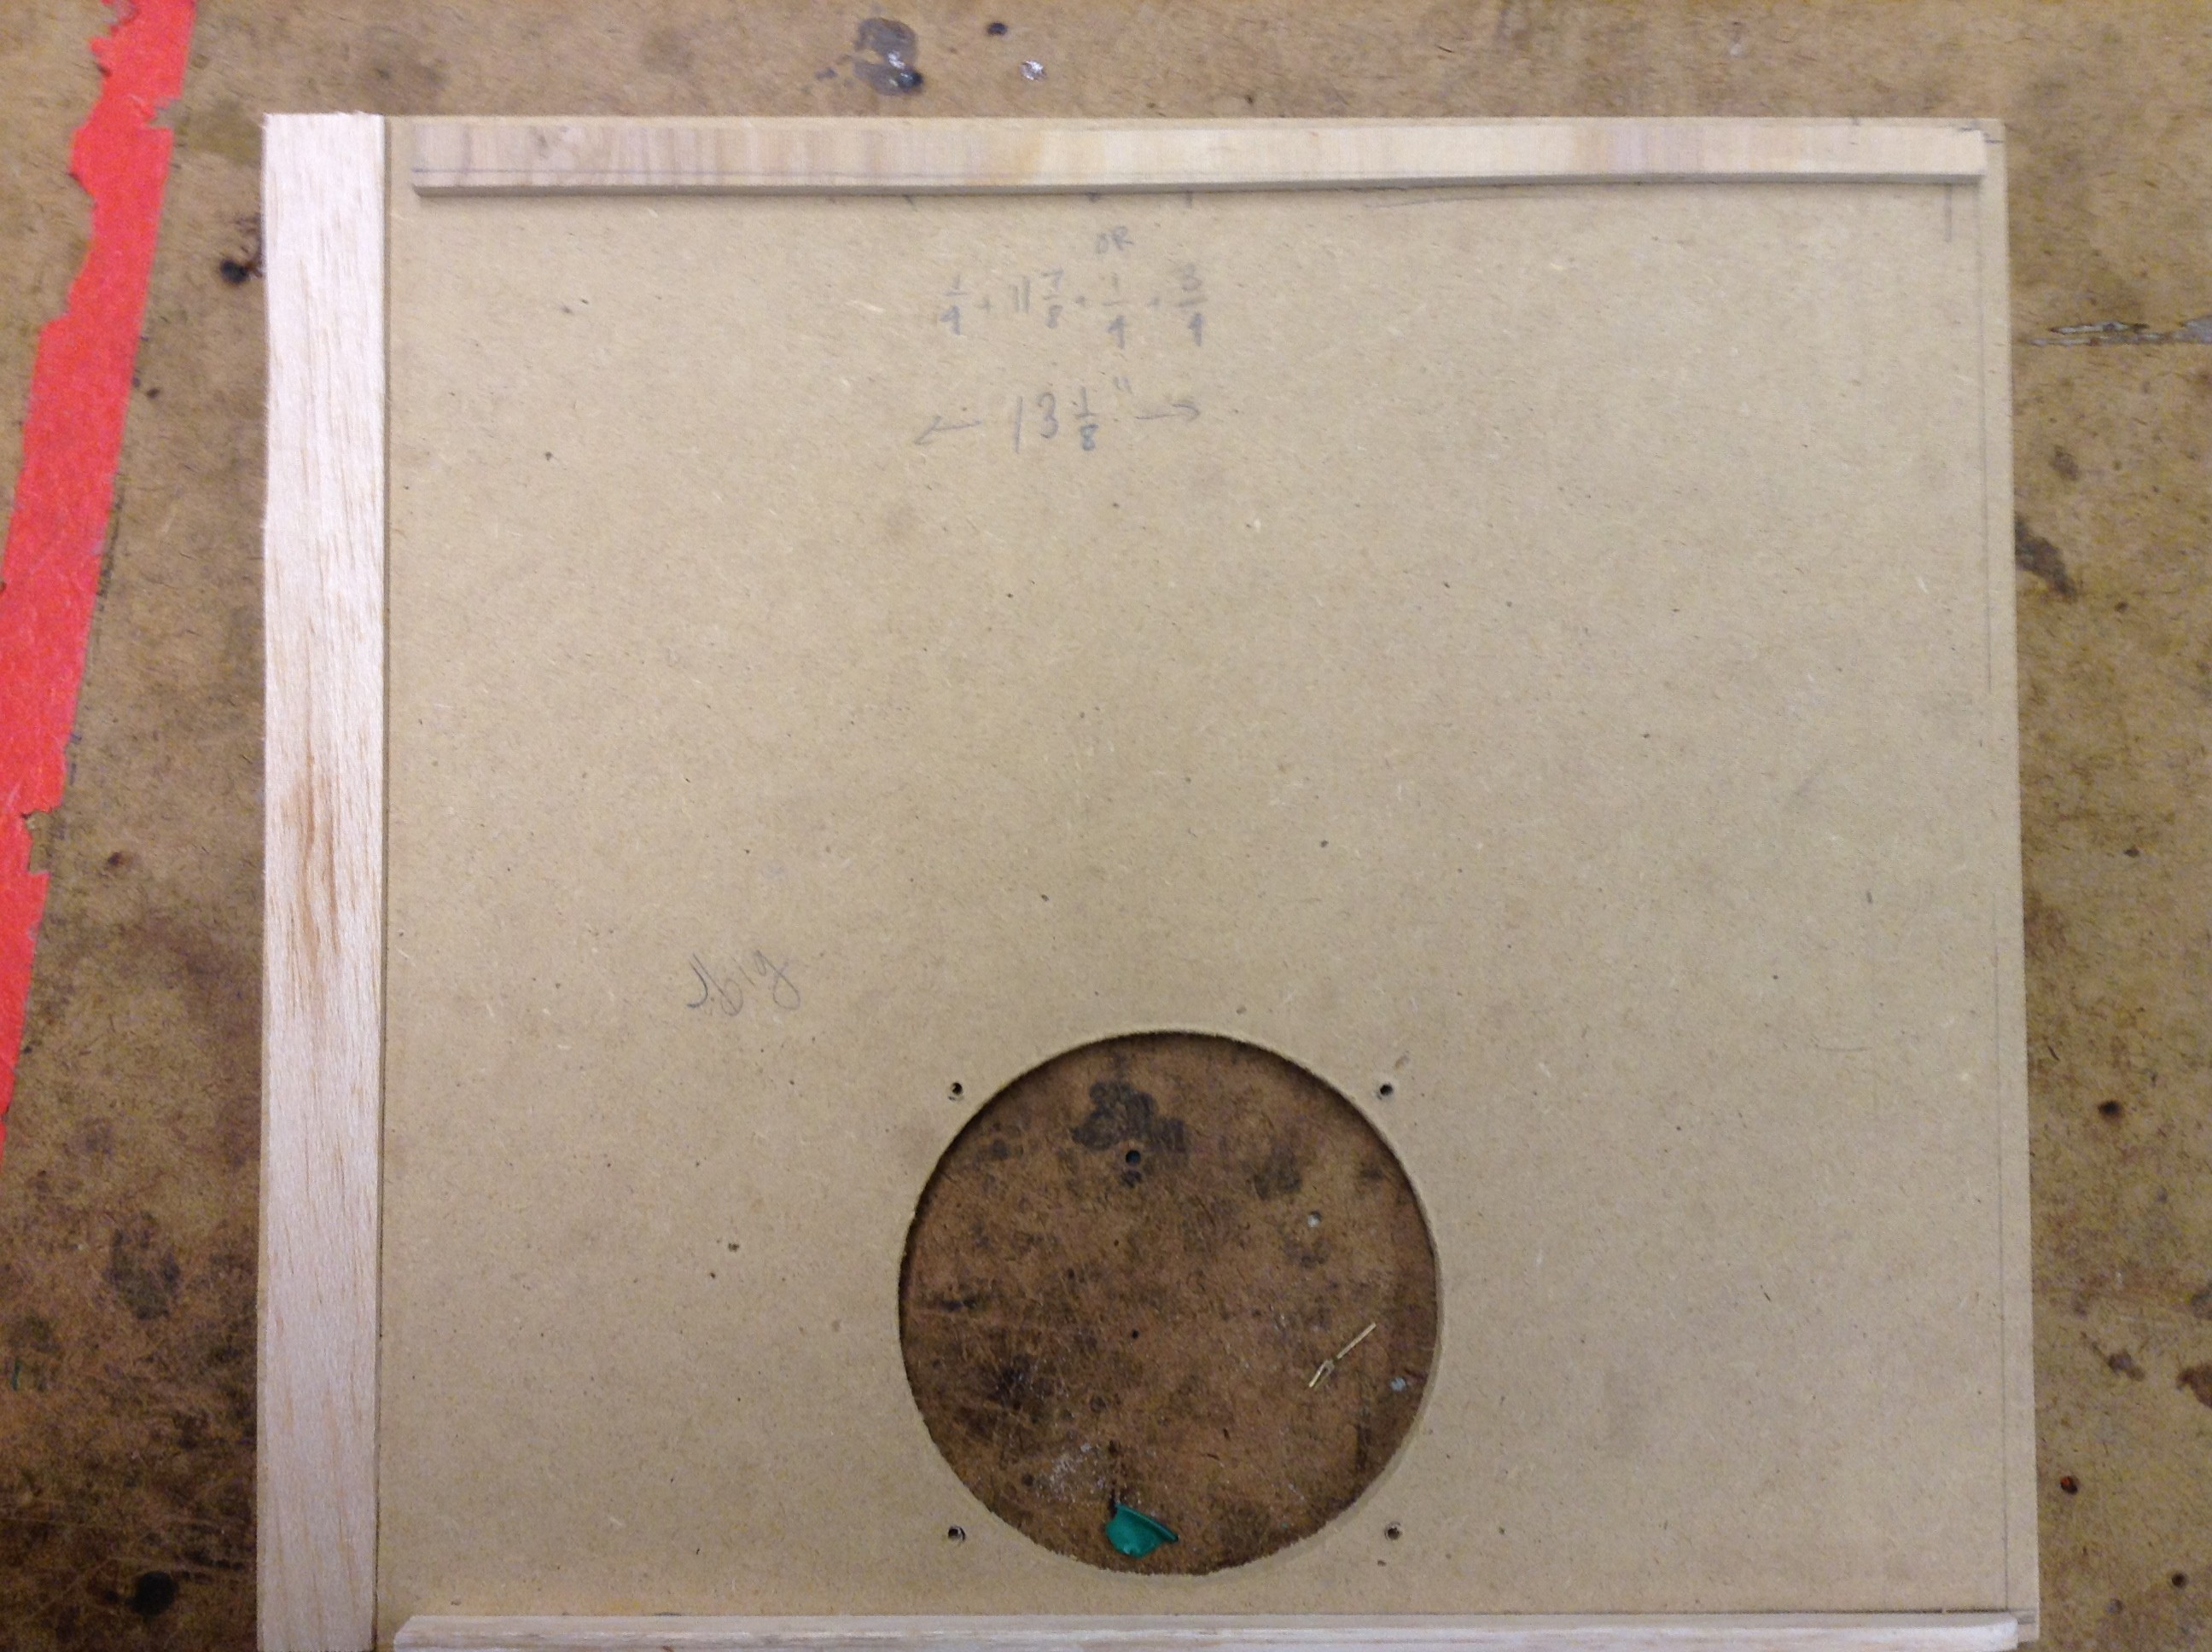
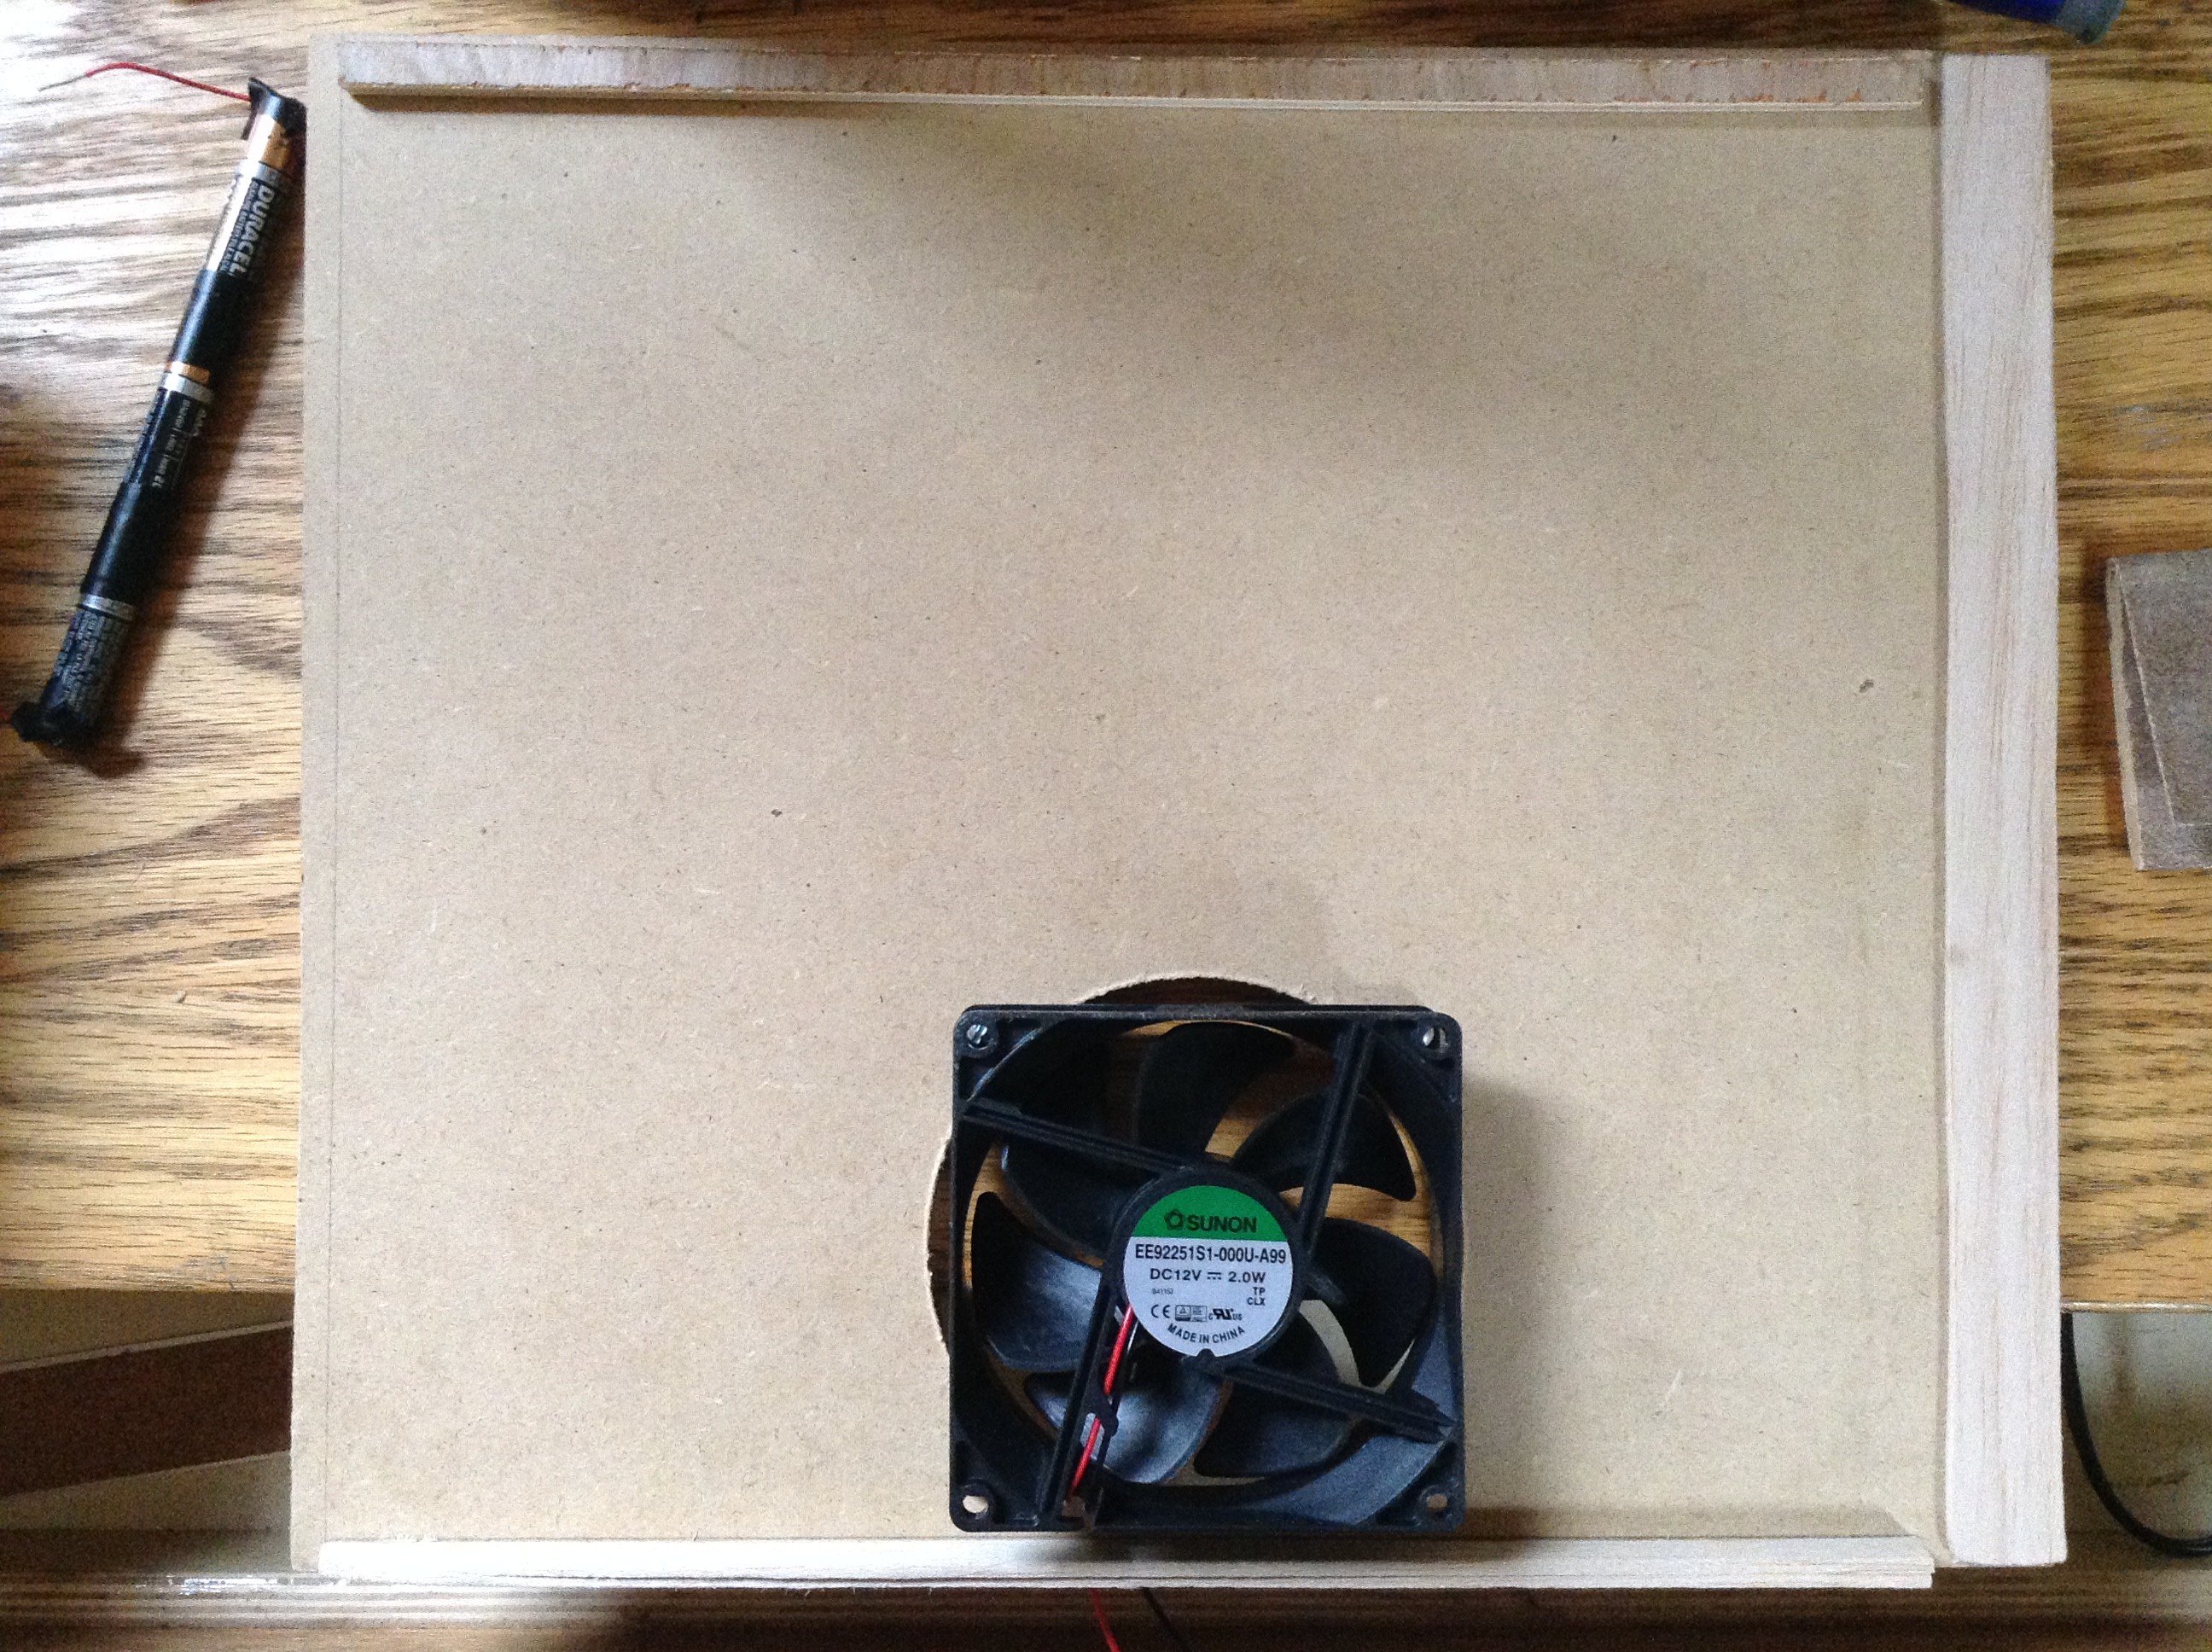
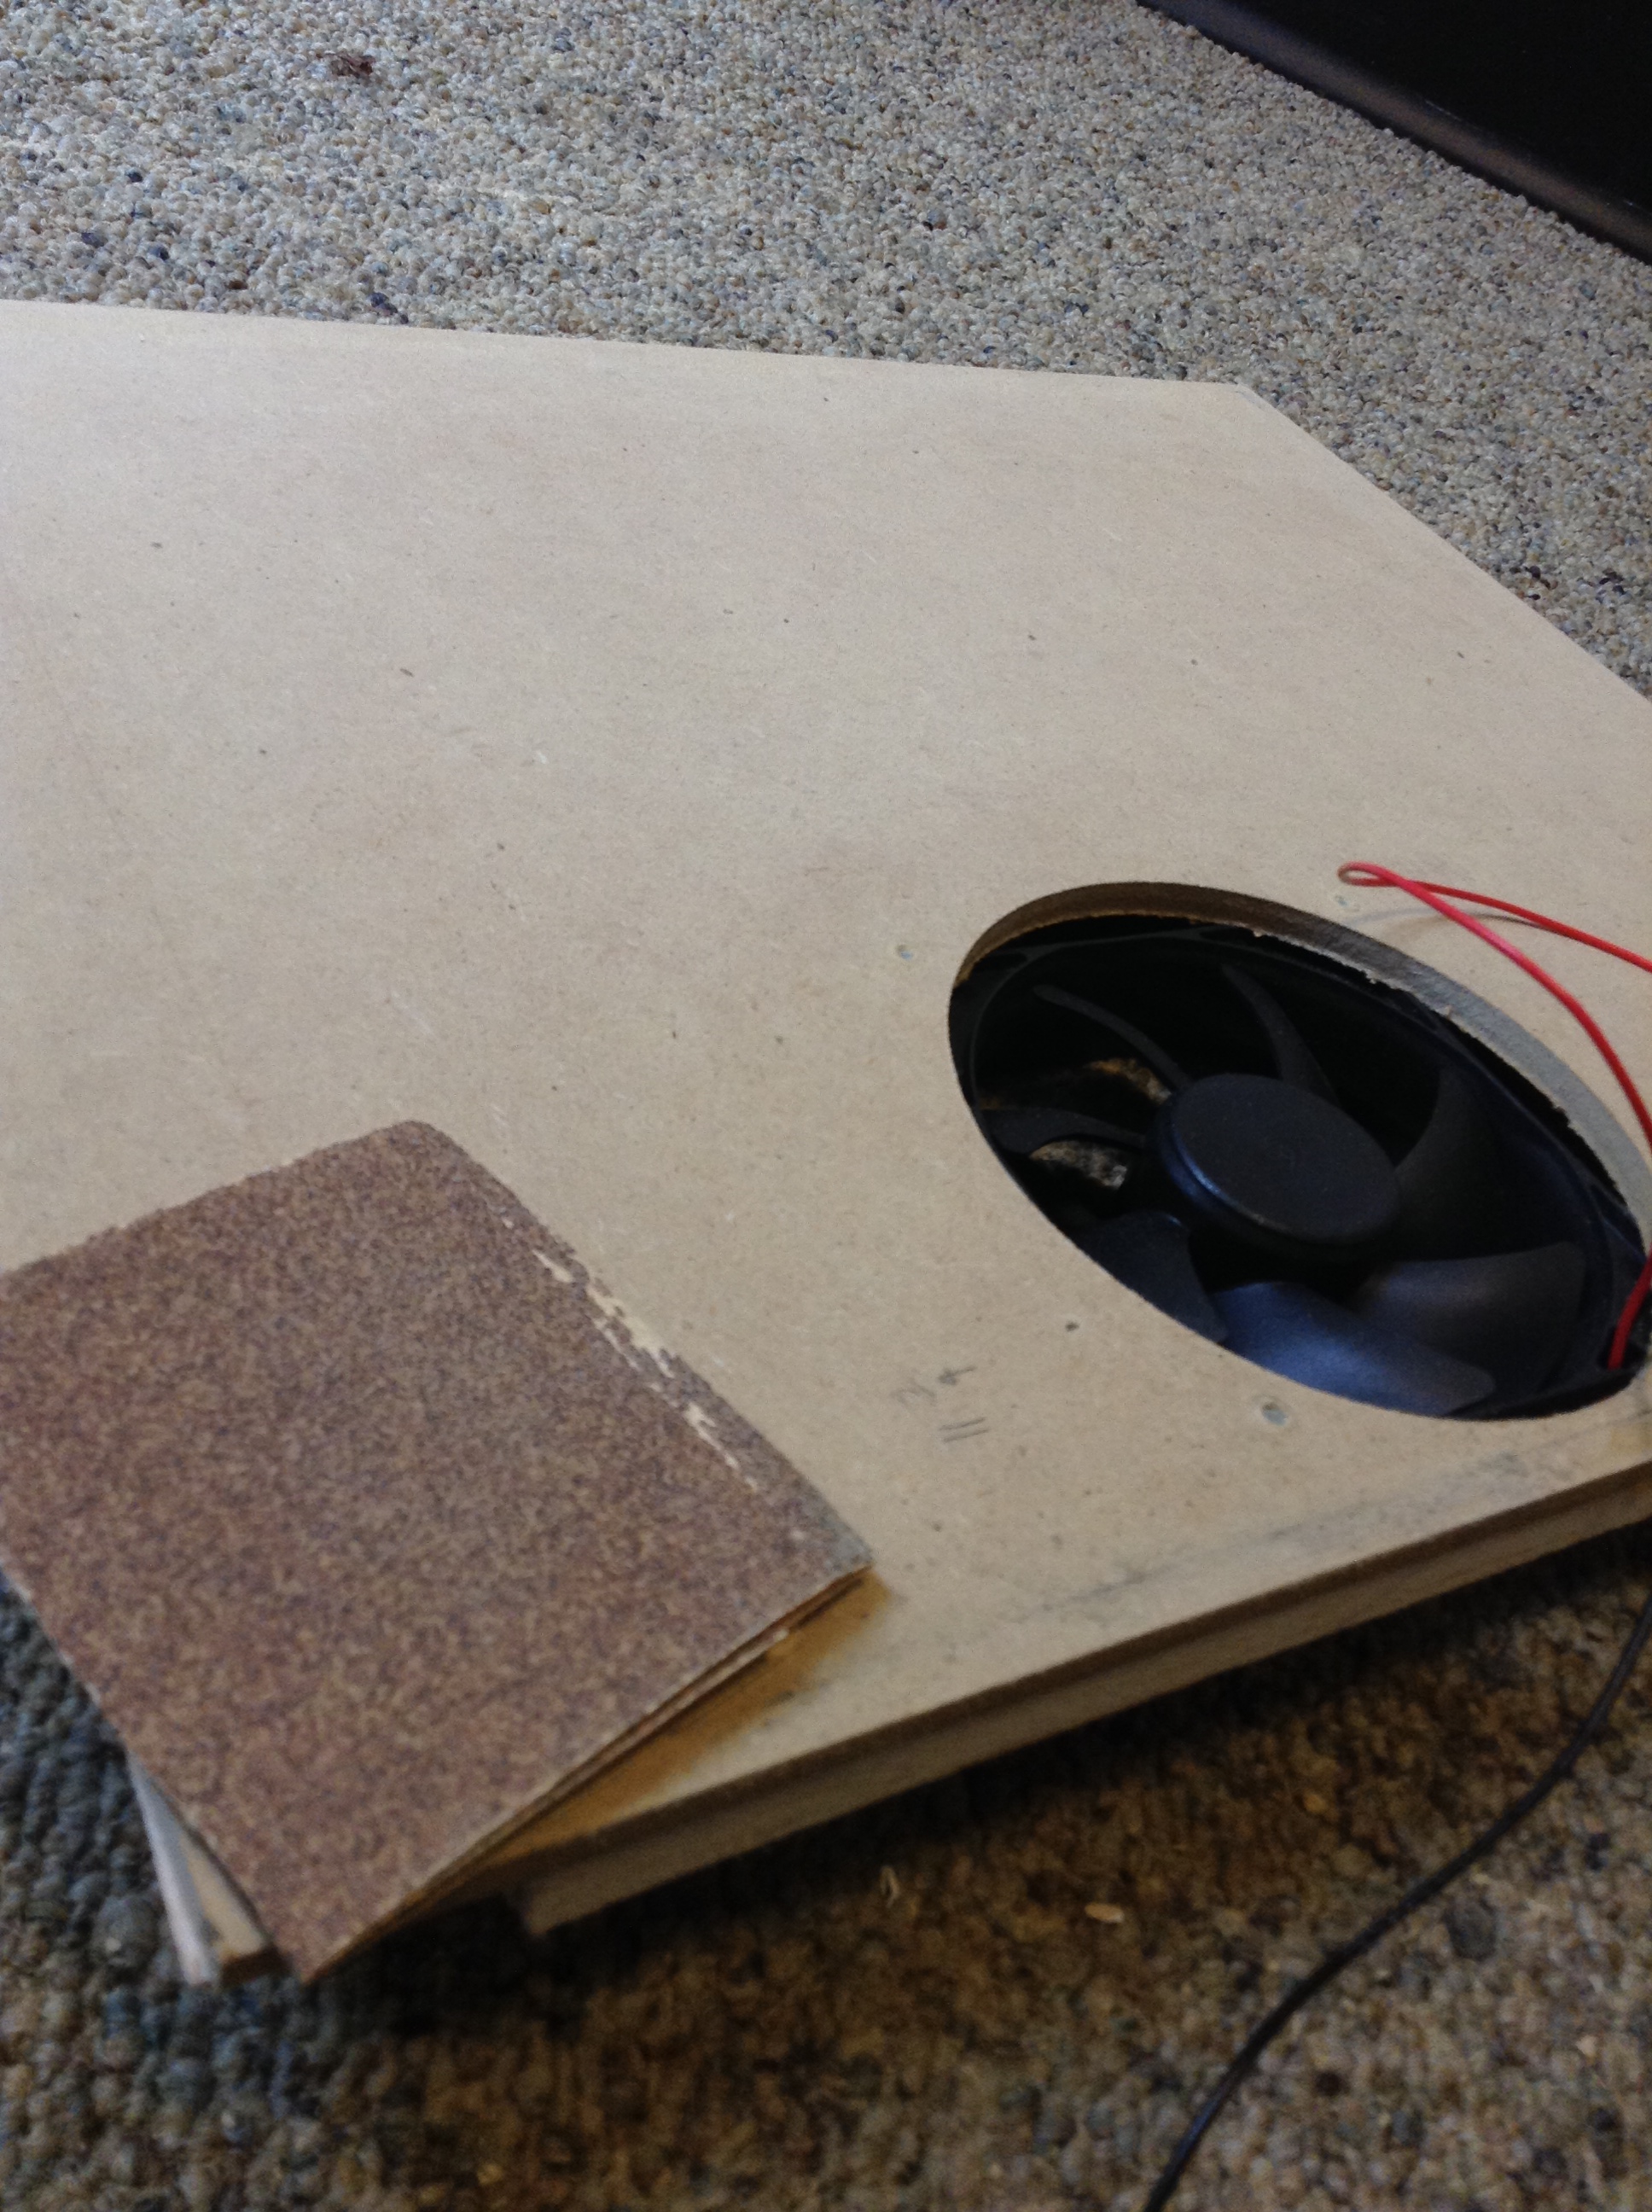

Here is the evolution of one of the sides of the case. The last is the inside of the case, laid on its side without the side panel.
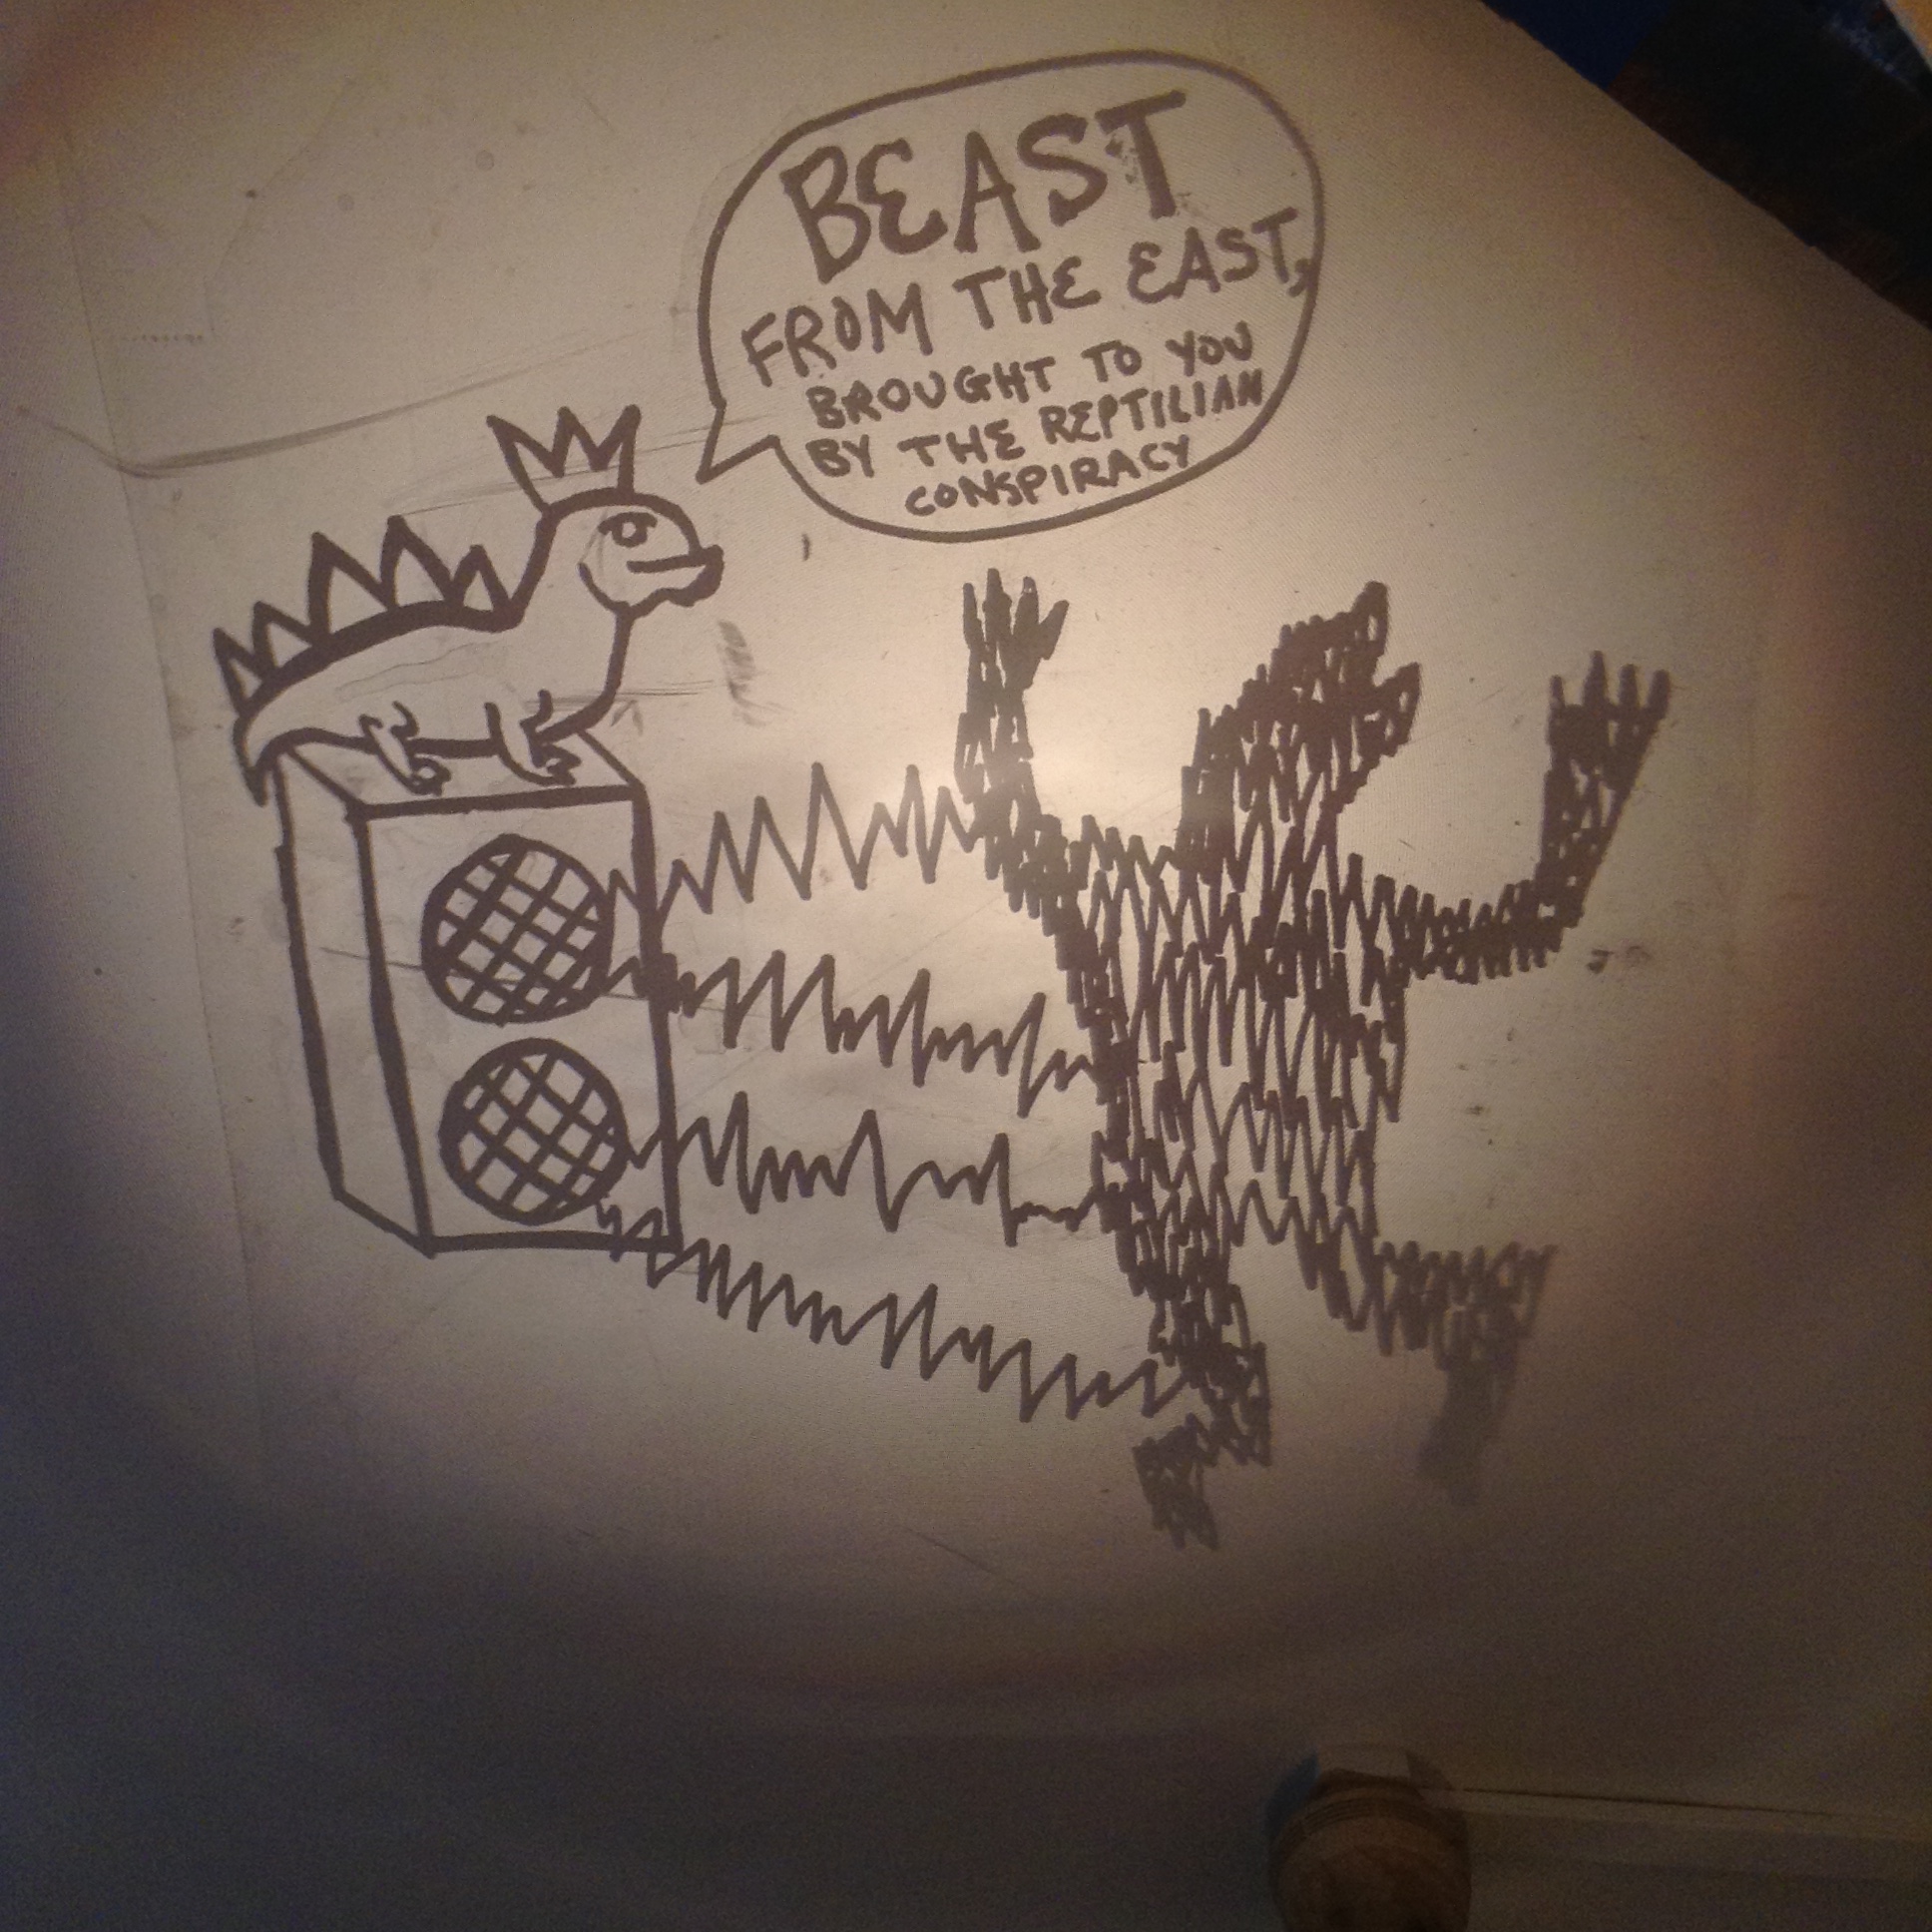
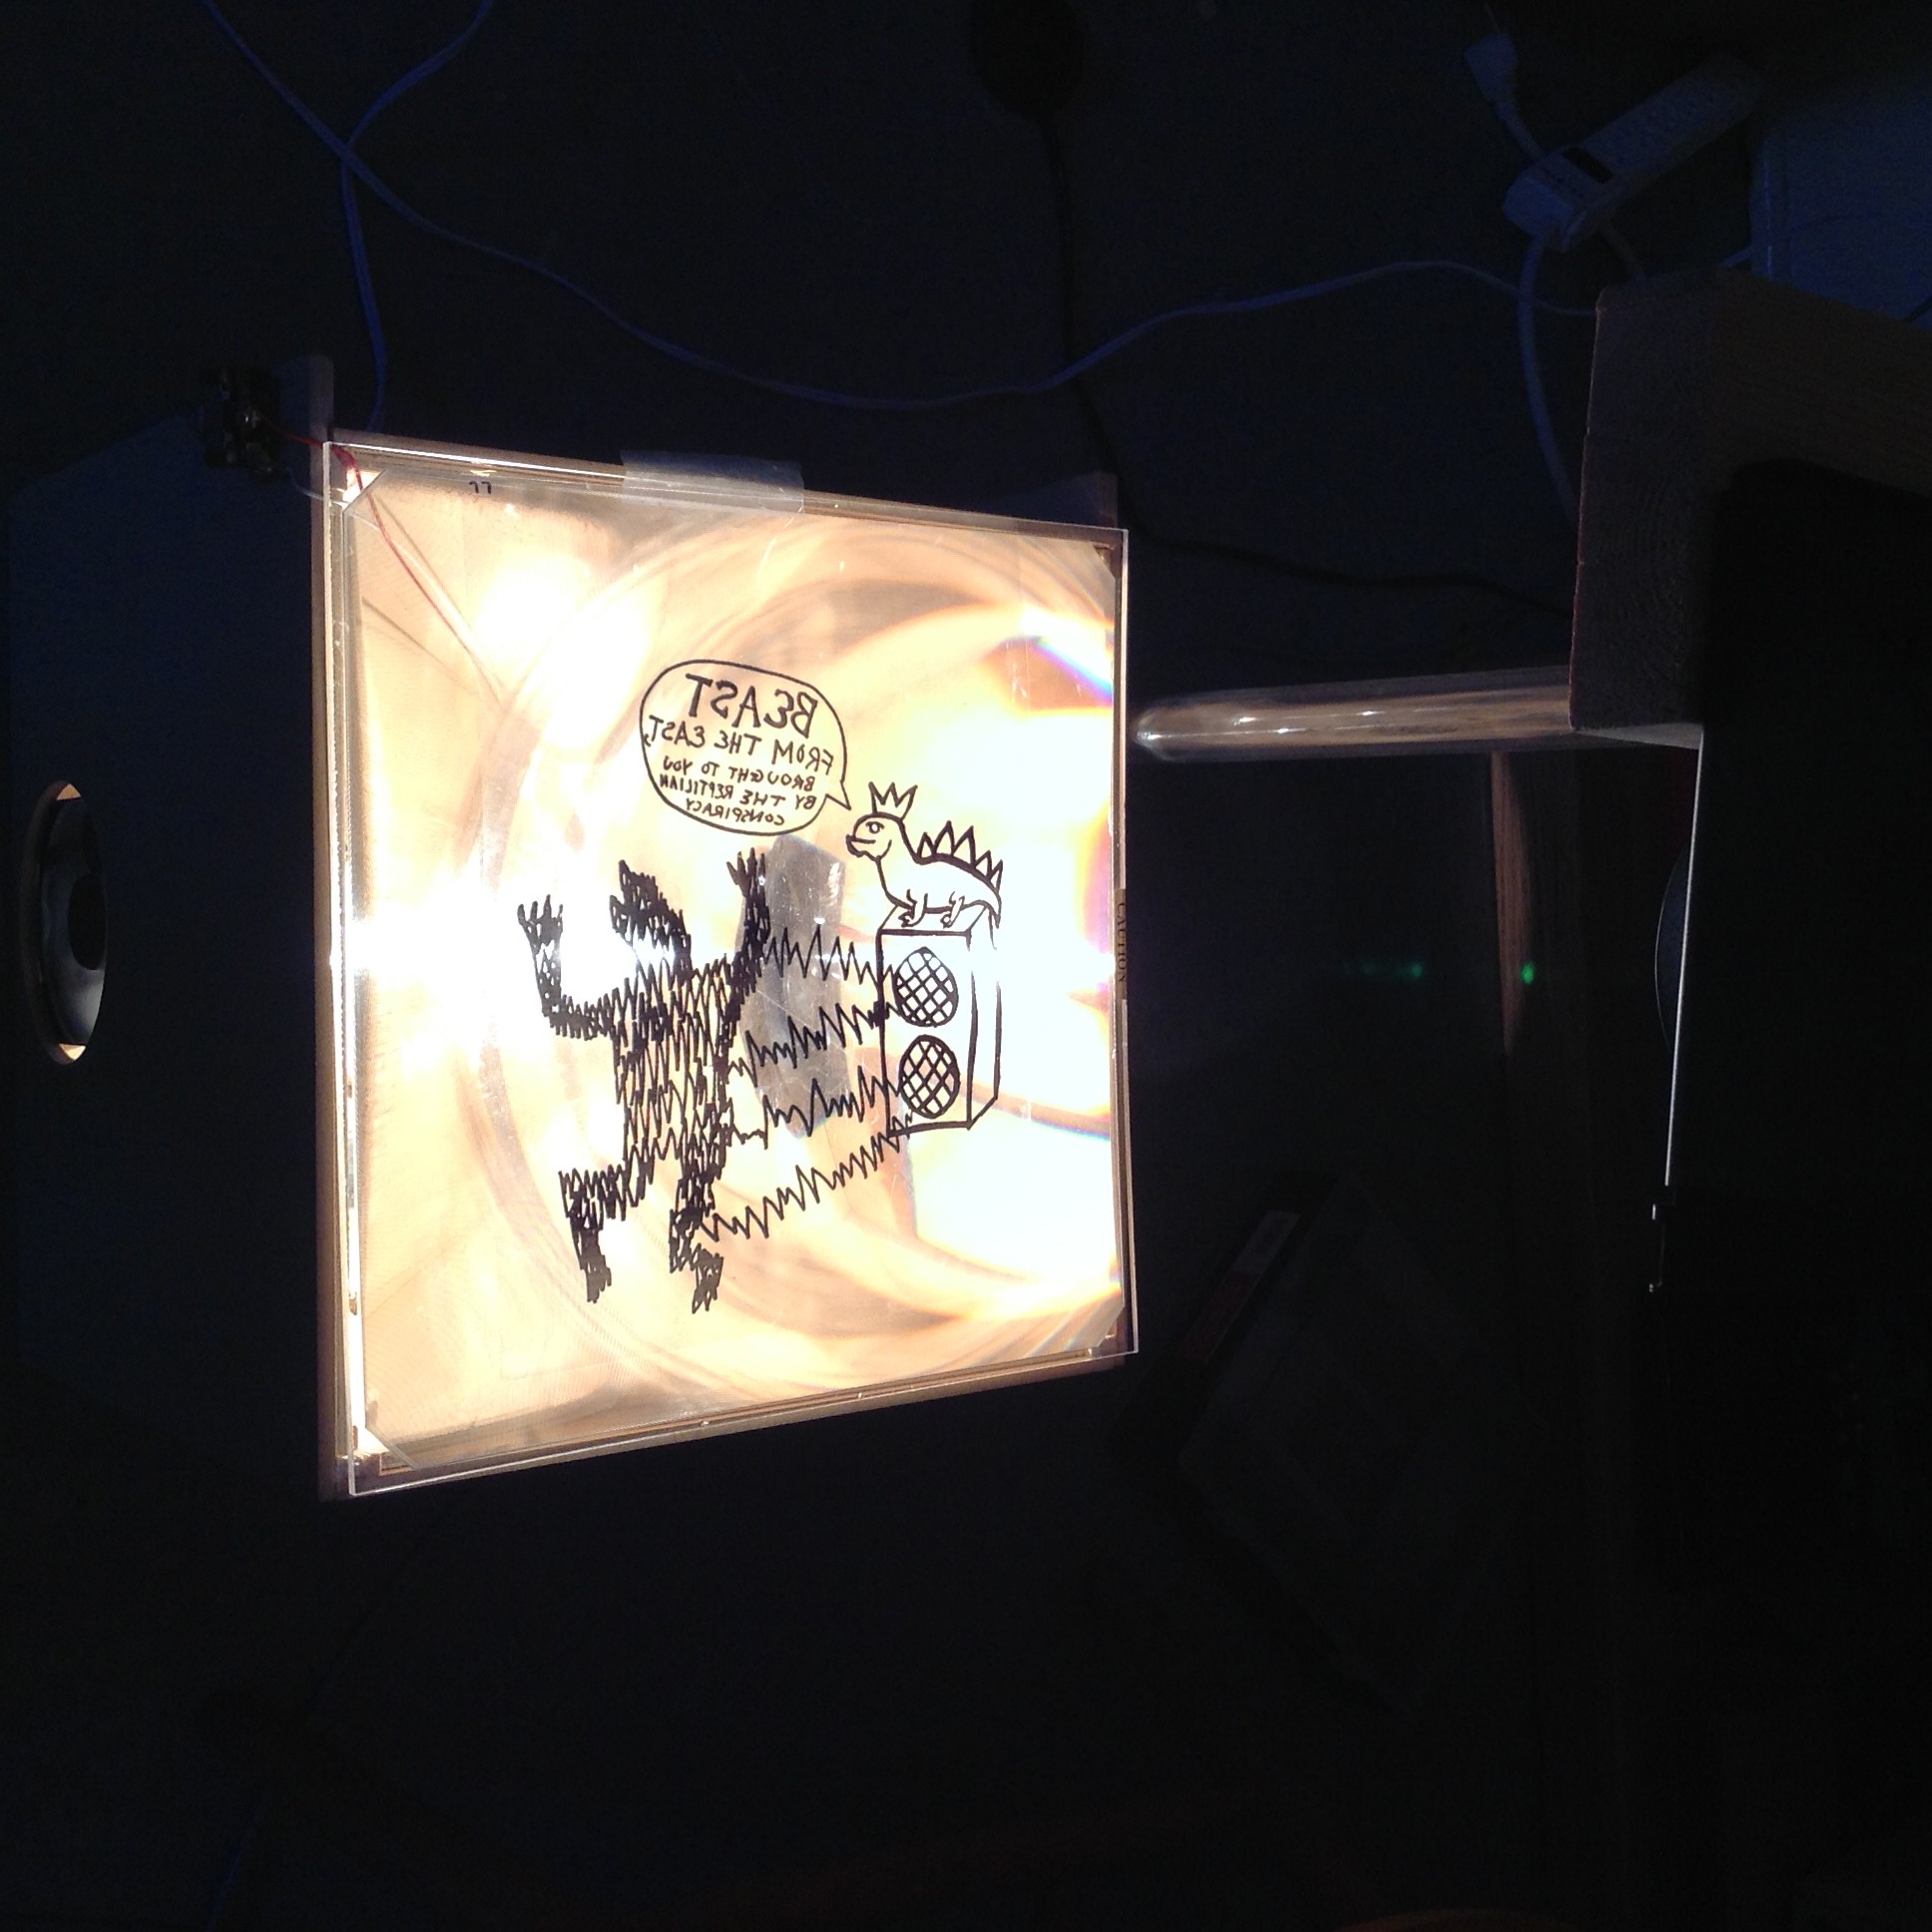
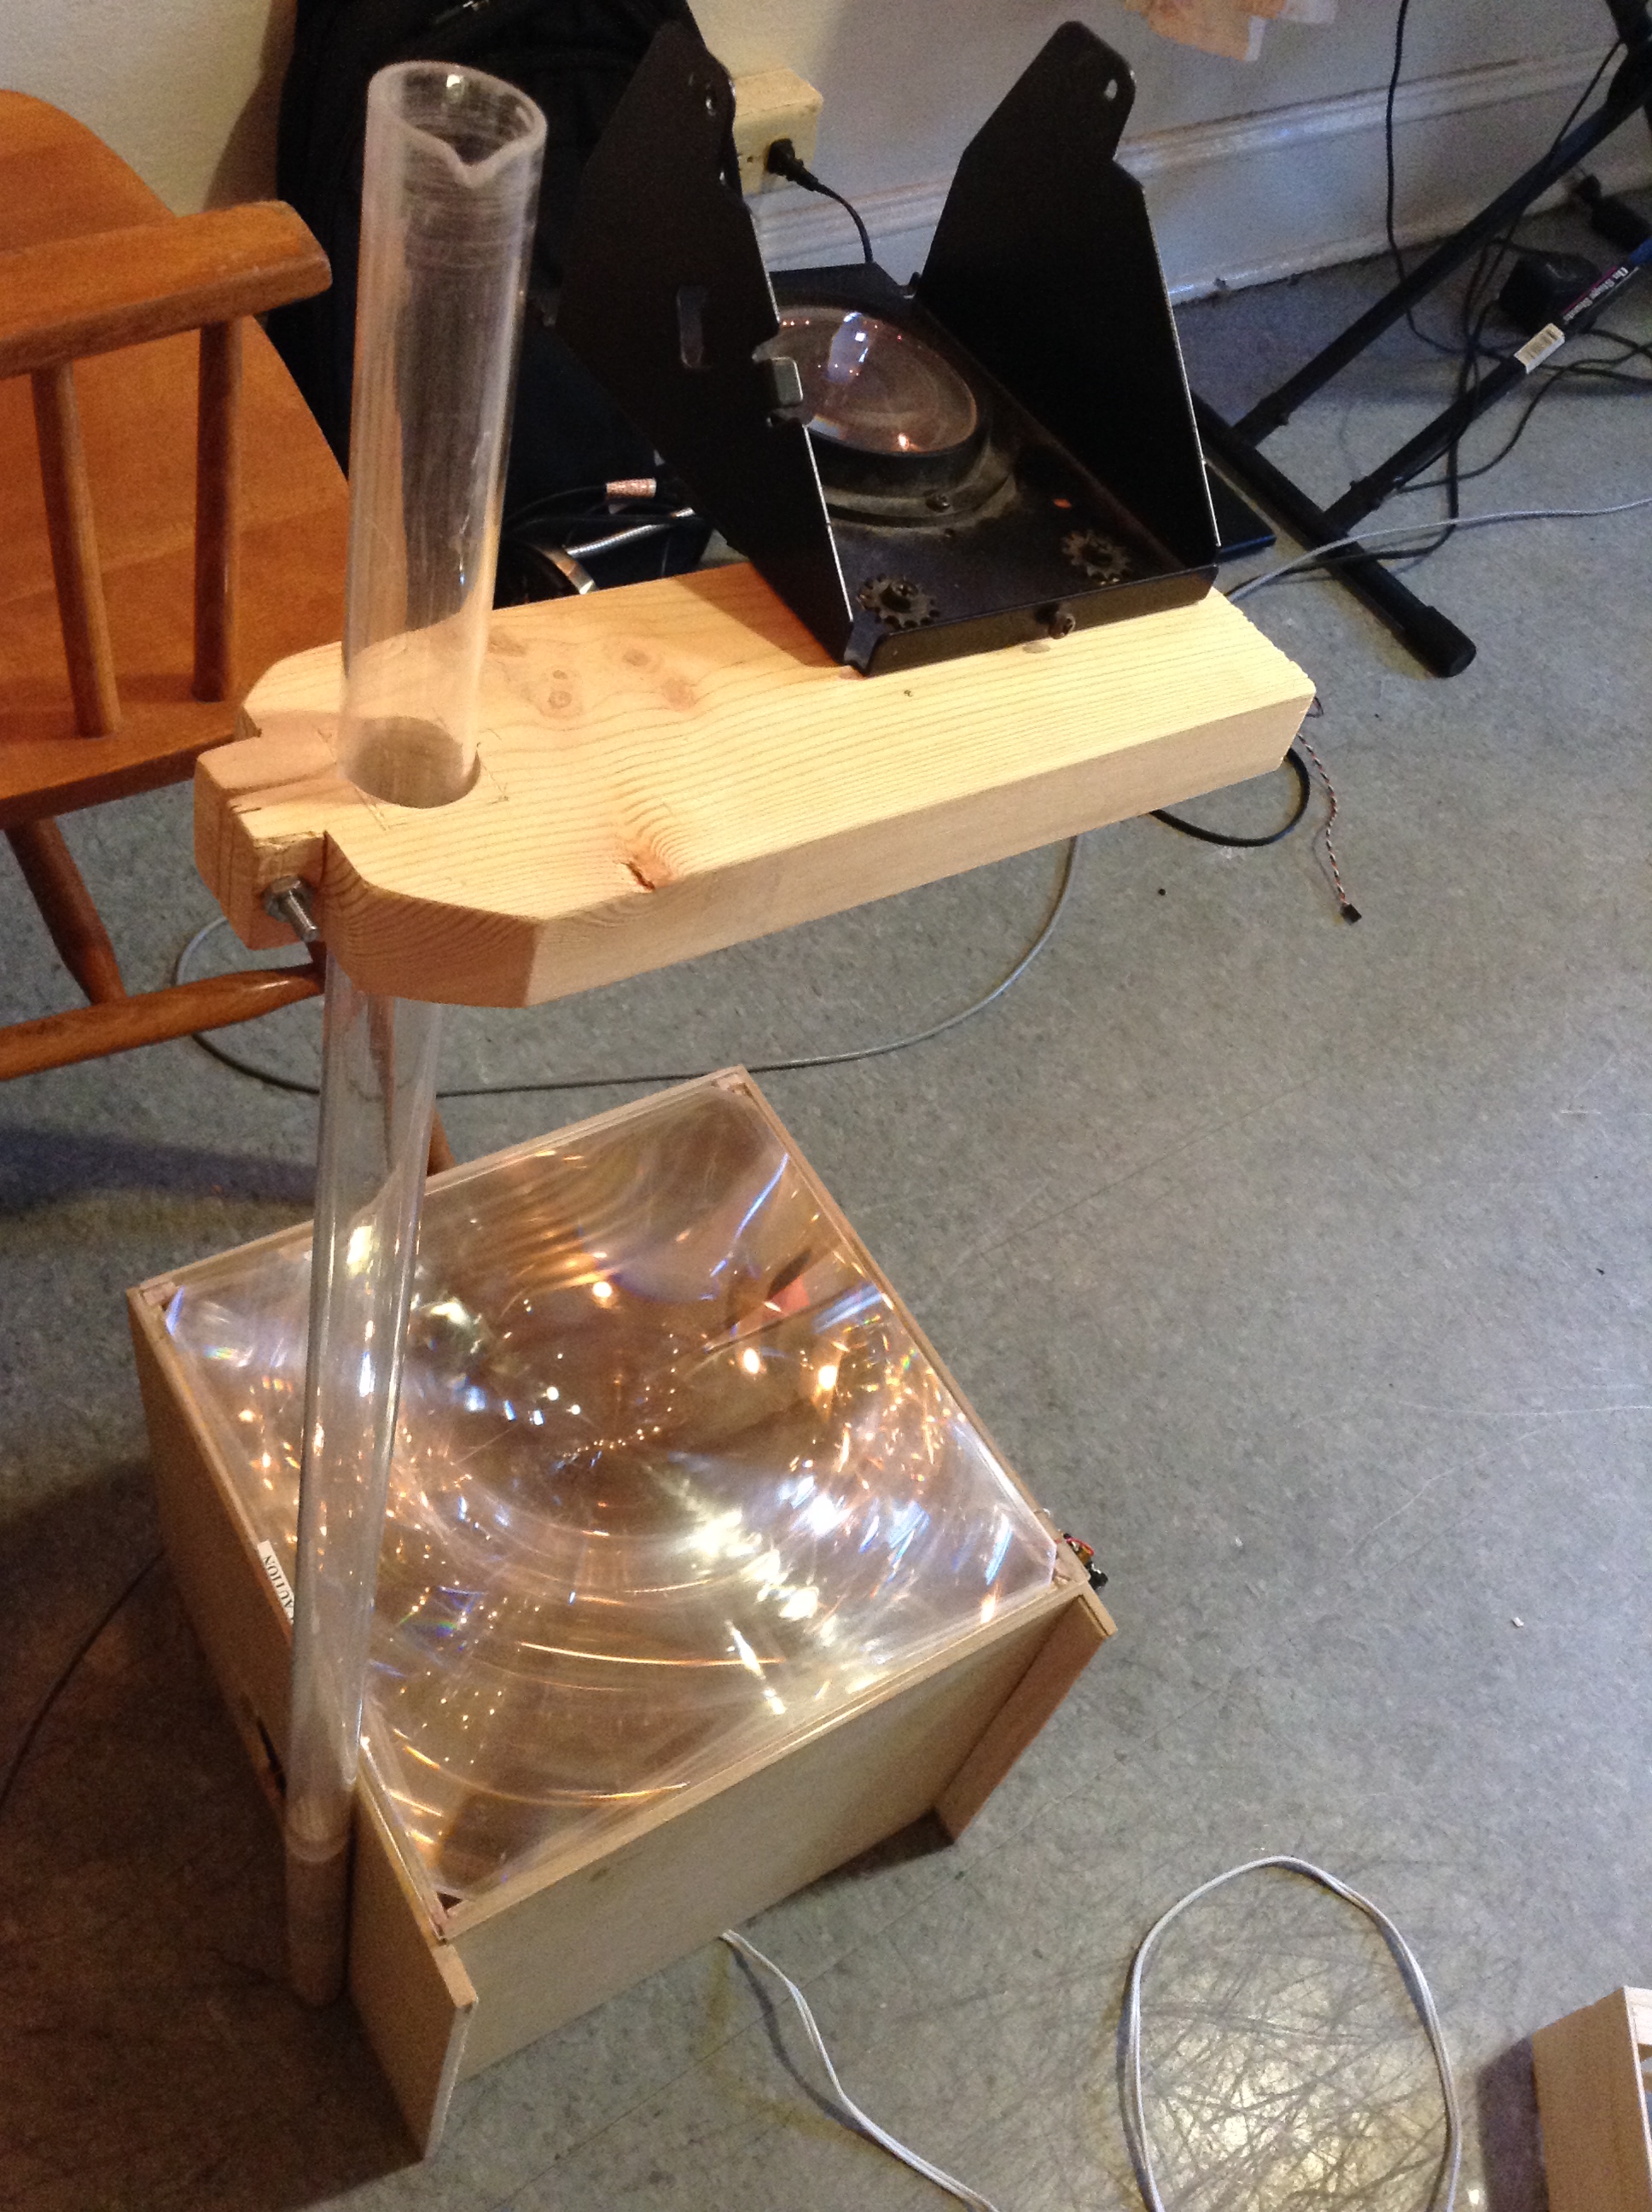
The top lens was attached through a piece of wood that would slide up and down a piece of tubing. At the moment the picture was taken, the mirror was not attached because the focus was adjusted for the image to project to the ceiling. Nevertheless, I saved the screws for the times when I would want to project on to a wall. Here the projector projects a transparency unto the ceiling of my dorm room. The transparency is of a t-shirt design for the floor of the dorm I live in.
A small hiccup occurred; all the better as mistakes often lead to improved results. A careless mistake of placing the LCD screen on top of sheet metal while it was on led to short circuiting the screen. At the moment I am left without a screen for the projector, although as it is I could test out different solutions that would project with a neat design. What comes to mind is something similar to The xx’s music videos:
Their methods seem unlike what I’m attempting, so some testing is needed before I find that result.
A major aspect of this project was that about every step I followed led me to learn something new. This was my first time dealing with bigger machine tools (e.g. drill press, band saw, belt sander), and it was the first time that I designed simple circuits and mechanical objects on my own. Along the way, I also learned that I enjoy building; it felt like an art form, using my hands to destroy in a planned manner. I wouldn’t want it as a job, but an occasional project could serve as a way to de-stress. For now, I go back to the Stata loading dock, and hope to find another screen.